




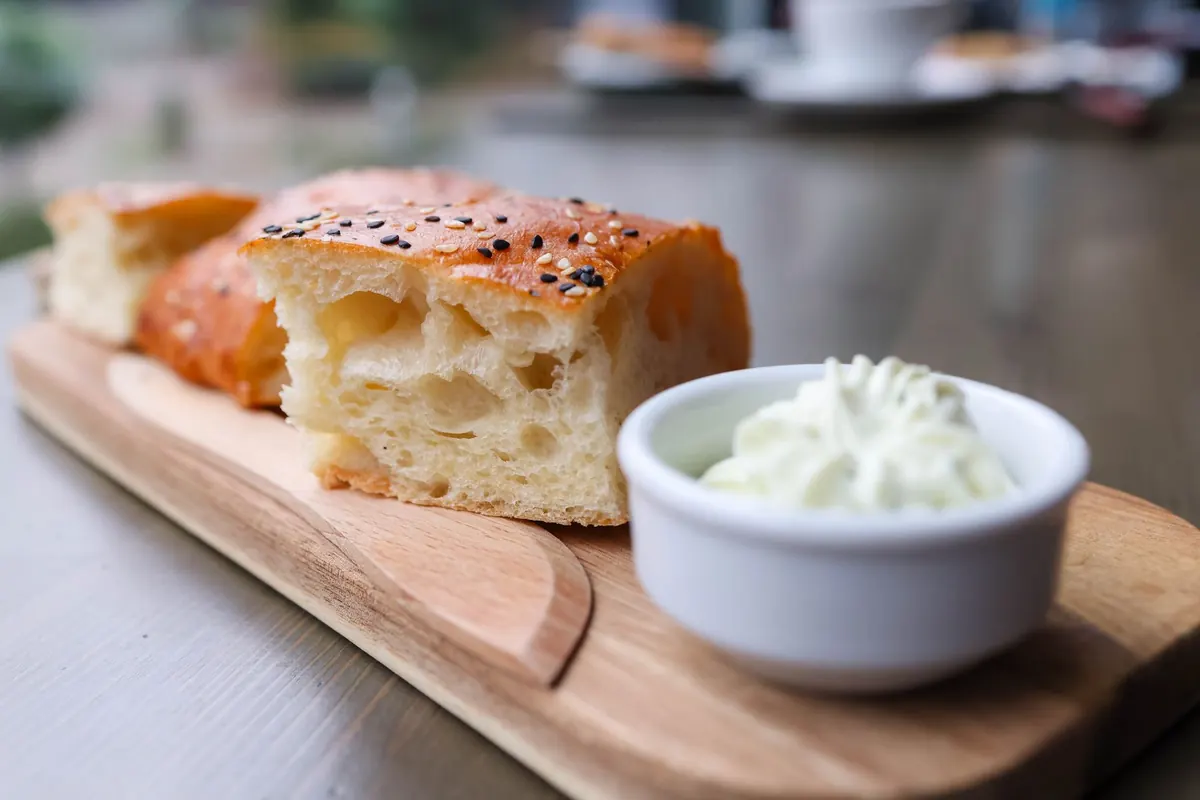
Focaccia has a reputation as a weekend project, the kind of thing that demands a warm kitchen, a free afternoon and a certain tolerance for sticky counters. It doesn't have to be. This version asks for about five minutes of attention the night before, a few minutes of shaping when you walk in the door, and then it bakes while you deal with dinner, laundry or nothing at all. No mixer, no kneading, no thermometer, no folding schedule taped to the cupboard door. Just flour, water, salt, yeast and a generous amount of olive oil in a bowl you can walk away from.
Why time does the work kneading usually does
Bread dough becomes elastic for two reasons: mechanical work and hydration. Kneading is the fast route. A long, wet rest is the slow one, and it happens whether or not you are in the room. Given enough hours, flour absorbs water fully and the proteins organise themselves into a stretchy network on their own. The dough goes from shaggy and lumpy to smooth and bubbly without anyone touching it.
Keeping that rest in the fridge adds two useful things. First, flavour: a slow cold fermentation gives focaccia a faintly tangy, wheaty depth that a two-hour rise never quite reaches. Second, and more practically, flexibility. A cold dough is far more forgiving about timing. If the meeting runs long and you get home at seven instead of six, nothing is ruined. The dough waits.
There is one thing to accept up front: this is a wet dough, around eighty percent hydration. It will look more like thick batter than the dough you may remember from a bread class. That wetness is exactly what gives focaccia its open, airy crumb. Resist the urge to add flour.
What you actually need
The ingredient list is short enough to memorise, which matters on a Tuesday night.
- 500 g bread flour. All-purpose works fine; bread flour gives a slightly chewier, more bakery-like crumb.
- 400 g cool water. Tap water is fine. Weigh it if you can — a cup measure varies a lot.
- 10 g fine sea salt. About a heaped teaspoon and a half.
- 3 g instant yeast. Roughly one teaspoon. This is deliberately small, because the dough has all night.
- Olive oil. Three to four tablespoons for the pan, plus more for your hands and the top. Be generous; the oil is what fries the bottom edge golden.
- Topping. Flaky salt and rosemary is the standard. Halved cherry tomatoes, sliced olives, thin onion, za'atar or grated parmesan all work.
Equipment-wise: a large mixing bowl, a sturdy spatula, and a roughly 23 x 33 cm (9 x 13 inch) metal sheet pan. A kitchen scale helps but isn't essential. Parchment is optional — with enough oil, the bread releases on its own.
Night one: five minutes, then leave it alone
- Whisk the flour, salt and yeast together in the bowl. Do this before the water goes in, so the salt doesn't sit directly against the yeast.
- Pour in the water. Stir with the spatula for about thirty seconds, just until no dry flour remains. It will look rough and wet. That's correct.
- Cover the bowl — a plate, a shower cap, a clean tea towel — and leave it on the counter for thirty to sixty minutes if you have the time. This short warm start gives the yeast a head start.
- Move the bowl to the fridge for twelve to twenty-four hours. If you're mixing at ten at night and going straight to bed, skip the counter step and put it in cold.
The dough will rise, then settle back down as the yeast slows in the cold. Don't read anything into that. After eighteen hours it should look domed, bubbly on the surface, and smell faintly of beer. It keeps happily in the fridge for up to about thirty-six hours, so a Thursday night mix can become Saturday lunch.
The evening of: shaping without drama
Take the bowl out of the fridge about two hours before you want to bake. Cold dough fights back; room-temperature dough cooperates. If you're short on time, an hour in a warm spot near the oven or radiator will do, but the dough will be a little tighter and the crumb slightly less open.
Pour three tablespoons of olive oil into the sheet pan and spread it across the base and up the sides. Tip the dough in. It will slump into a rough blob, and that's the whole shaping process — no rolling pin, no stretching on a bench.
Now let it relax in the pan for fifteen minutes, then gently push it toward the corners with oiled fingertips. If it springs back at you, stop and wait ten more minutes. Fighting a dough that won't stretch is the single most common way to deflate it. Cover the pan and let it rise at room temperature for another hour and a half to two hours, until it's visibly puffy and jiggles when you nudge the pan.
Dimple, top, bake
Heat the oven to 220–230°C (425–450°F) with a rack in the lower third, and give it a good twenty minutes to come up to temperature. Meanwhile, oil your fingers — really oil them — and press straight down into the dough, all the way to the pan, spaced a couple of centimetres apart. Be firm. Timid dimpling produces shallow dents that fill back in.
Scatter your toppings now, not before. Anything wet and heavy, like thick tomato slices, will weigh the dough down and steam the surface; halve cherry tomatoes instead and press them in lightly. Finish with flaky salt and a drizzle of oil.
Bake for twenty to twenty-five minutes, until the top is deep golden and the bottom sounds hollow when you lift a corner with a spatula. If the top is pale but the base is done, give it two or three minutes under the grill — and do not walk away, because that window closes fast.
Focaccia is at its best about ten minutes out of the oven: crisp underneath, soft inside, still steaming.
Slide it onto a rack after a few minutes in the pan. If you leave it in the pan to cool completely, the base goes soggy.
Timing plans for a real evening
- The standard weeknight. Mix at 9pm and refrigerate. Out at 5:30pm, into the pan by 6:15, bake at 7:45, eat by 8:10.
- The early-start version. Mix at 7am before work. Home at 6pm, pan and oil straight away, a forty-five-minute rise in the warmest spot you have, bake by 7:15.
- The same-day shortcut. Use 5 g of yeast, let the dough sit covered at room temperature for two hours, then pan it and rise for another hour to ninety minutes. Less flavour, still good.
Whichever you choose, work backwards from when you want to eat and add a twenty-minute cushion. Ovens run hot or cold, and dough in a cold kitchen takes longer than any recipe admits.
When it goes sideways
Too sticky to move? Wet your hands with olive oil rather than adding flour. Adding flour at this stage turns the crumb tight and bready.
Barely rose overnight? The fridge may be very cold, or the yeast old. Move the bowl somewhere warm for two hours and carry on.
Dense and cakey after baking? Almost always an underproofed second rise. Next time give it the full two hours in the pan and wait until it visibly jiggles.
Pale and soft on the bottom? The oven wasn't hot enough, or the pan went in too high. Check the rack position and preheat longer than feels necessary.
Keeping it in the rotation
Once the rhythm is familiar, the recipe becomes a template. Swap a hundred grams of the bread flour for wholemeal or rye for a denser, nuttier loaf. Press olives, roasted peppers or thin potato slices into the top. Split the dough between two smaller pans for sandwich-sized squares. Baked focaccia freezes well — wrap it in portions, and reheat at 180°C for five minutes to bring the crust back.
The most useful habit is to keep a bowl of this dough going. Mix it on a Sunday night and again on a Wednesday, and there is almost always something in the fridge ready to become dinner. Five minutes of stirring, one warm pan, and a weeknight that smells like a bakery.
Photo: Valeria Boltneva / Pexels
Related posts
More stories you’ll love reading